In Short:
These tips will boost the quality of your home vocal recording and help you add your voice to the vibrant, global rap music scene!
1. Try recording in different rooms at home to find the room with the best acoustics;
2. Make a simple pop filter by yourself at home (or buy one cheaply) to reduce unwanted noises in your audio take;
3. Practice recording yourself rapping! Rapping into a microphone has its own unique challenges so build up your recording experience and know-how.

What they want you to think…
Rappers and vocalists of all sorts often face a stumbling block early in their creative process.
This is because we’re all used to seeing pictures and videos of artists in studios surrounded by expensive, high-tech gear 🎛.
We’re fed the illusion that we can’t make music that sounds good without a lot of money 💰 and an army of producers and engineers.
…what you should think!
But none of this is true!!
Now you can record and develop vocals with just your 📱from the comfort of your 🏠!
For example, the Rap Fame app for rappers, producers, and hip hop fans lets you record yourself, experiment with different beats, and interact with a huge community of like-minded people!
So, let’s go through three tips to help get the most out of recording your rap vocals at home.
Three Home Recording Tips for Vocals
1. Try recording in different rooms
Why?
Every room at home is different. Each has its own function and layout and therefore its own acoustic properties.
Rooms such as your kitchen and bathroom 🛀 may have a lot of hard and shiny surfaces, such as tabletops, counters, windows, and mirrors, which can be problematic.
These surfaces reflect sound a lot. If you’re recording in these rooms, your vocals will bounce off these surfaces 🏀and be picked up too much by your microphone.
What to do?
Much better are rooms with lots of soft items like beds 🛌, cushions, and rugs. Soft things absorb sound more, making your recording less cluttered by reflections and more neutral.
Also avoid larger rooms as they have more space through which your vocals will travel and reverberate.
Now, you may like that high reverb sound, which is fine! However, it’s much better to leave effects like that to the processing stage after recording. If your original vocal recording is heavy with reverb, then you are limited in how you can process your vocals, which is a huge problem.
Say the room you recorded in gave your vocals too much reverb? You wouldn’t be able to reduce the reverb because it’s recorded into your take.
Say you wanted to compress your vocals after recording (as you should in most cases)? Then you would be applying compression after reverb, which creates a very particular sound. This sound can work amazingly in some tracks, but it’s unusual and you don’t want to be stuck with it 🚫.
Think about effects after recording
Therefore, as a default, record your vocals so as to limit reverb, then apply effects afterwards in your Digital Audio Workstation (DAW) or console as you like!
If you’re absolutely sure that you want to record your vocals with high reverb in the original take – perhaps because you know it will fit the style of your track and you have experimented with your rooms at home – then you may want to try recording in the shower (without the water running, obviously…💦).
This is because showers are often surrounded by highly reflective tiles. Also, bathrooms often contain large mirrors and are relatively small, meaning sound has more opportunities to bounce off of surfaces.
These properties are what make you sound so good when singing in the shower 🎶!
2. Home-made pop filter

What’s a pop filter?
A piece of gear that you will find in most recording studios is a pop filter, also known as a pop shield or pop screen.
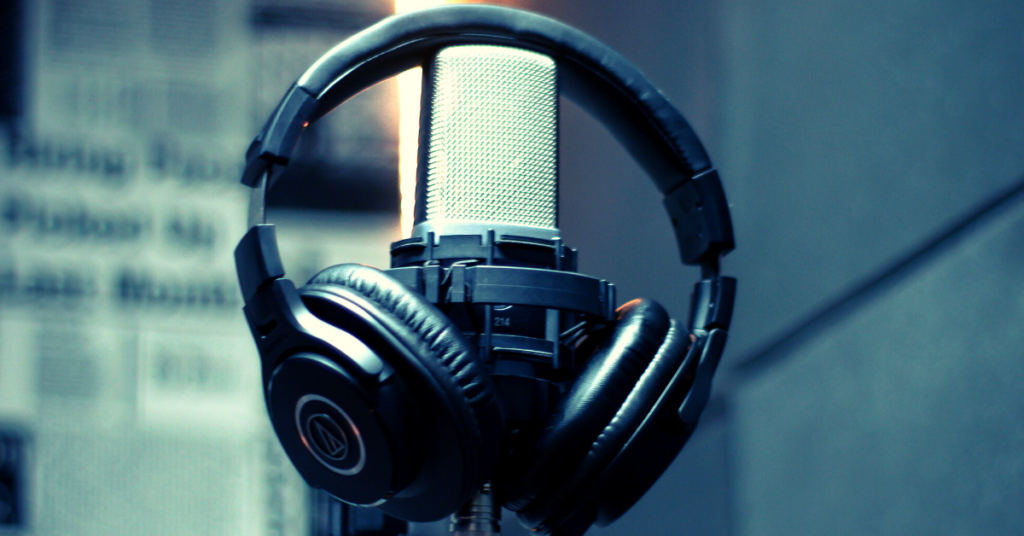
It’s only used with condenser microphones such as the one in the image directly above (or this one 🎙). Generally microphones with spherical ends (like this one 🎤) are dynamic microphones and already have inbuilt pop filters (check your mic specs online for this).
Pop filters are an essential item to make your vocal recording sound professional. They do this by filtering out “popping” sounds or “pops.”
What are pops?
Pops are a natural thing that happens every time you say the letter “p” (and “b” less noticeably). You can explore this now by holding your hand very close to your mouth and saying any word that begins with the letter “p”, say “pardon” 🌬✋.
You will notice that the letter “p” produces a burst of breath that you feel against your hand much more than any of the other letters you are pronouncing.
This is because, in linguistic terms, the letter “p” is a plosive consonant, which means that it is produced by pursing your lips 👄to stop air from leaving your mouth then suddenly releasing that air with some force 💨. Again, if interested, you can explore this by slowing down the process of saying the letter “p” and noticing how your lips move to control the flow of air.
Whilst pops are harmless in ordinary speech, they make your recording harsh and unprofessional.
What to do?
You can get around this by practising pronouncing your “p”s very lightly, or manually automating the volume of each pop down in your DAW or console, which I did for three years and would not recommend…
Luckily there are home solutions! The most common is to put a sock 🧦over your microphone. This works well, just make sure to use a clean sock👃…
Also, be careful because over time socks, particularly cotton ones, deteriorate, leaving lint and dust that can collect and cause damage. Never leave the sock on the microphone, take it off when you are done recording.
Or, to get more creative and avoid the problem of degrading socks, you can fashion your own pop shield out of paper and tissue.
Watch this video if you’re interested in DIY-ing a pop filter!
Get rid of those pops!
3. Practice recording, not just rapping!
It may sound silly but…
This may be the most obvious point, but it’s the one most neglected points by beginners.
Don’t just work on your general rapping ability, although you should definitely do that as well…
Specifically practice rapping into a microphone, recording every time so you can listen back and critique.
…trust us on this one
Rapping into a microphone is quite a different experience to rapping without one! A lot of people struggle when they start recording, even if they’ve been rapping for a long time.
You have to think about a lot of things, including:
- being consistent with your volume and sound;
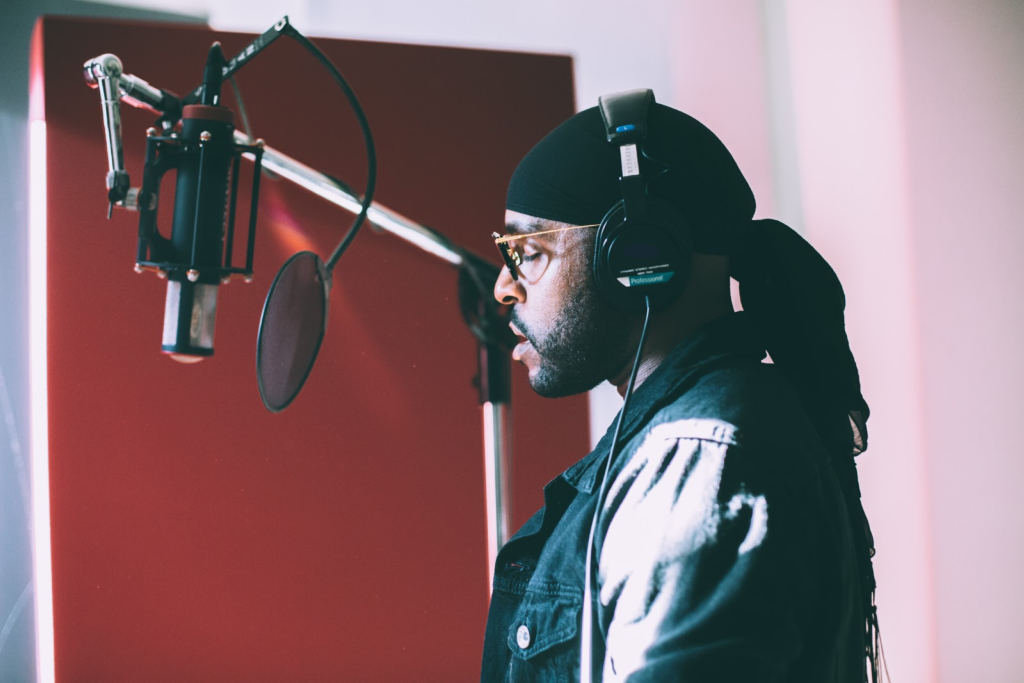
- facing the microphone and not moving your head too much so that the audio recorded is even;
- standing at a good distance from the microphone (around 7 inches is a good guideline), and;
- finding a good position for your feet and body so you are comfortable and don’t feel the need to move, which could disturb the recording.
There are many more things you might think about when rapping into a microphone, but the rest will come to you naturally with time.
So keep these things in mind and get practising!
To Rap Up…
There are many techniques to record vocals well at home – this article has gone over just three basic things to get you up to speed 👊.
Other tips include eliminating or reducing background noise in various ways and doing acoustic treatments at home, but we will cover these another time.
If you follow these steps and do your own research, you will definitely hear an improvement in the quality of your recordings.
There are so many artists and voices out there that deserve to be heard. With good recording technique and dedication, you can do your voice justice and build up the confidence to share your music!
Good luck recording!
Let us know how you get on! What did you think of these tips? What would like to read about next?
Keep up with us here at Rap Fame’s new blog! We do tutorials, feature some of our amazing users and their tracks, and cover news from the hip hop world. Drop us a comment below!


This was a great read I learned alot
Respect n luv famzz I feel like I have a home n I’m not alone. Respect to our hip hop artist’s life as we make it. Check me out much
Sinsery Kenny the Christian. Aka. MENTAL Illness aka Kenny Ken aka Kenny K
Very useful. Thank you so much
Thank Chef Success, really glad you liked!
That means a lot, big respect Kenny 🙏
Thanks Artyom, really glad you found it useful!
I tryed it and I like it